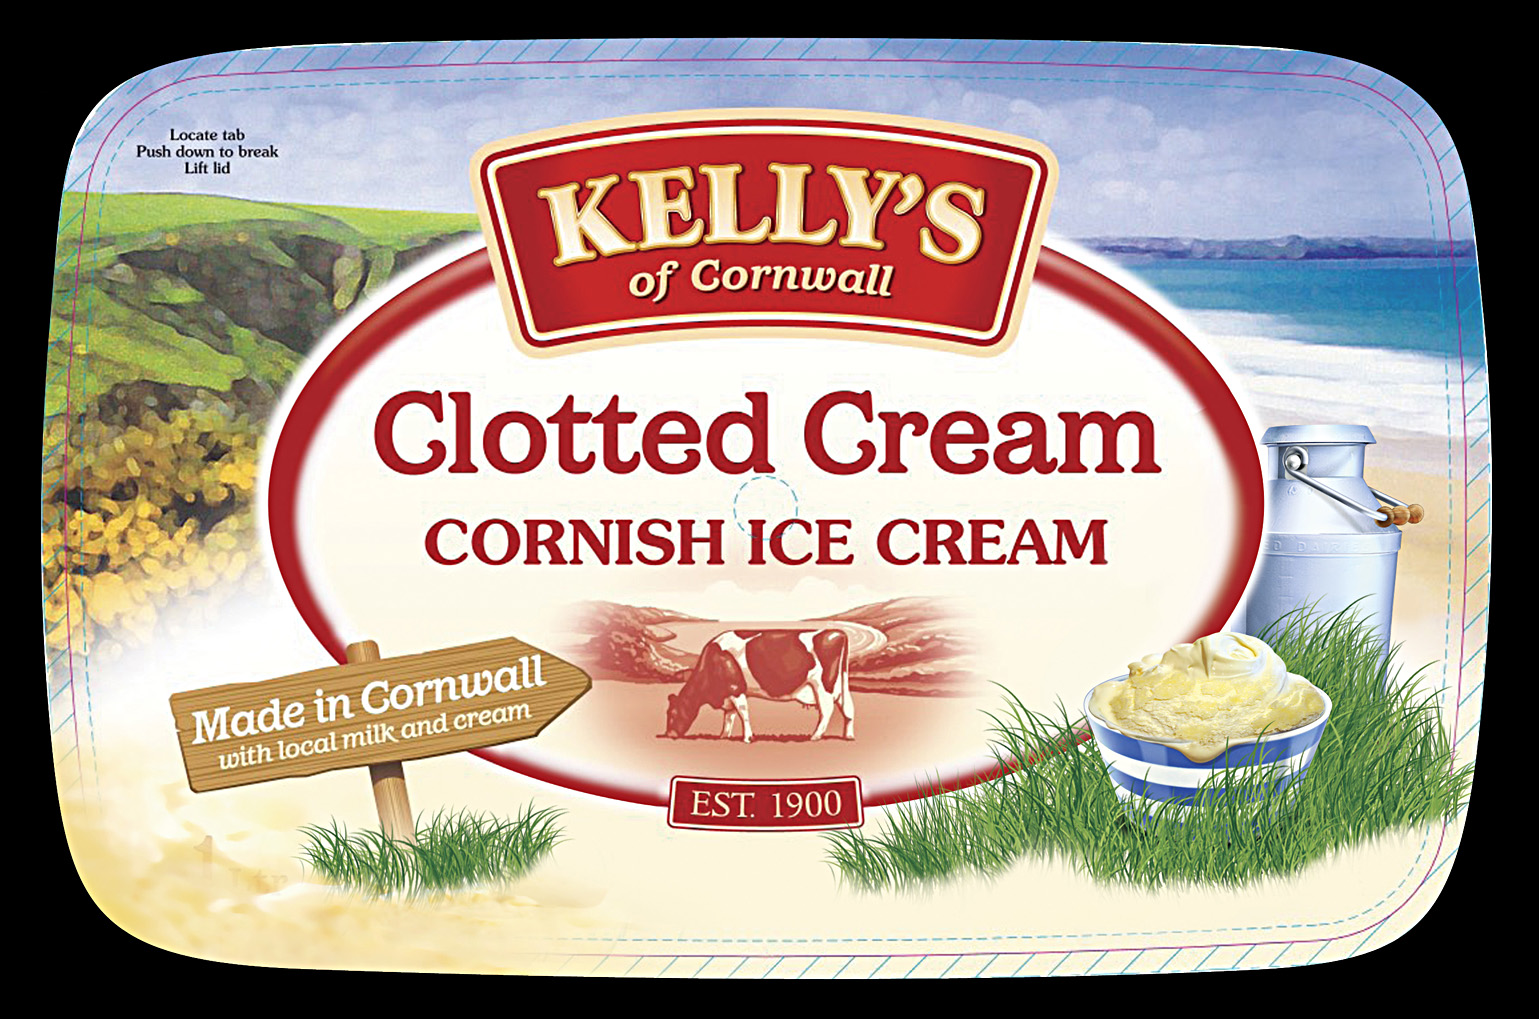
This commission for Kelly’s ice cream featured various flavours of delicious cornish ice cream ranging from Chocolate and Mint to Honeycomb and Strawberry. See my Food & Drink section for the full range.
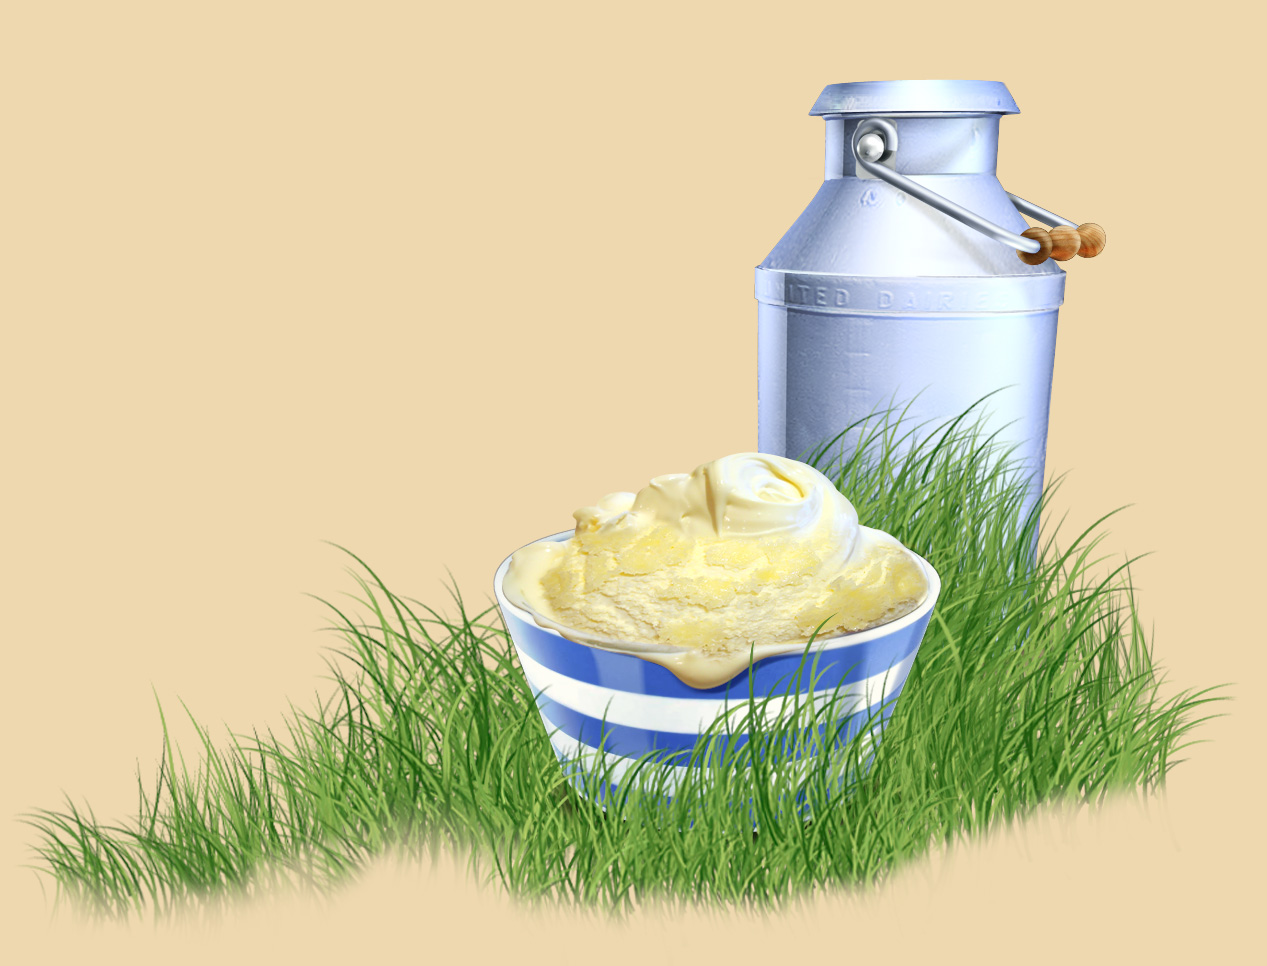
This Clotted Cream version called for an authentic looking milk churn heartily spilling frothy cream into the picture.
Click on these mini images to enlarge them.
I started the job by gathering texture references and shape references from the internet and then began building the basic churn shape in Form Z. I use Form Z quite often to establish the basic shape of objects which can then quickly be re-lit and re-positioned to suit the brief.
Having built a convincing churn shape I was able to let the client choose from a variety of dynamic angles before beginning to ‘bring them to life’ with texture and focussing.
I was able to apply some of the realistic textures over my 3D model in Photoshop, soften the focus and adjust the colouring to match the outdoor naturally-lit scene.
coming soon – video tutorial of how to apply these textures in photoshop.
The final artwork shows how the angled churn was eventually dropped in favour of a standing one further in the background.
Prior to the inclusion of the milk churn the brief asked for a milk jug. These were all tried out and experimented with at the visual stage.

Over the years I’ve picked up, adapted and invented many time saving and money saving tips that I’d like to share with the budding and the experienced illustrator alike.
Some of these might seem obvious but hopefully others will be completely new to you.
Here goes …
1. Never buy another compass!

I came up with this idea whilst still at college and have used it ever since for cutting large circle and drawing oversize circles.
No need for those tricky compass extensions.
Either use a strip of stiff card, eg mounting board, or better still find yourself a piece of rigid plastic.
Carefully insert a pin at one end and then mark off the measurements that you’ll need directly onto your card strip.
At the point where you need to make the cut, insert a scalpel blade gently through the card so that it’s point just penetrates through to the surface to be cut.
Secure the pin end into your board and using light pressure at the scalpel begin cutting the arc. It also works really well for drawing by making a hole for the pencil tip with the pin then following the same procedure. It can be used many times but when the holes have worn too big to be accurate, throw it away and start again.
If you don’t want to have a pin hole in the centre of a drawn circle, use a small square of clear plastic (from a cassette box lid – younger illustrators ask your parents) and lightly spray mount onto the back, press the pin into this to protect the surface.
2. Save your pencil stubs

This one might seem obvious but once tried you’ll not forget it.
When a pencil gets too small to hold comfortably, use an old felt tip barrel to hold the stub. Pentel markers are perfect.
I’ve got colour pencils that I’m still using and they are no more than 10mm long.
After that, collect them in a tall jar and you’ve got an attractive decoration for your studio!
Also, flip the pencil round when carrying to protect the tip and to prevent drawing on clothes etc.
3. Clutching at straws

well not straws exactly but I have a series of clutch pencils that are employed to hold soft tissue twists – makes a perfect detailed torchon for blending.
Broken off pencil tips … Berol have stopped making Karismacolor and so these wonderful soft waxy, richly coloured pencils have become priceless. Each time I snap off a tip in the pencil sharpener I save it and use it in a clutch pencil.
Also, cotton buds, felt pads etc can all be used for rubbing and blending.
4. Erasing
I love using the click eraser and a few years ago somehow managed to wrongly order enough to last me 2 life times.
For small, crisp and detailed erasing I tear holes and slits into paper and rub out through these gaps to get precise shapes.
5. Build a library of textures

I try and look for and save as many interesting textures as I can.
Use them for rubbing or scanning in and re-colouring.
A couple of my favourites are a snake skin faux leather folder cover and a small plastic fish with it’s scales nice and rough.
You can request free samples of exciting textured cards and substrates from the binder and presentation companies that advertise free sample packs.
6. Palettes

I also scour supermarket shelves for those clear plastic containers that hold lipsticks or other cosmetics. They make perfect palettes for inks, water colours or just for water.
My all time favourite is an old chocolate tray with about 20 small depressions just right for Dr Martin ink droplets and it even has it’s own slide over cover.
8. Colour matcher
I think this one is Leonardo’s!
When out sketching, and you’re not sure of the exact shade of green etc. that you’re looking at, try isolating the patch of scenery by holding up a piece of white card with a hole in it. Target the mystery colour through the hole and then mix your best guess at the side of the hole to see if it matches.

9. Graphics tablet

Getting digital now.
Sketching on a graphics tablet takes a bit of getting used to and the stylus often skips and slides about annoyingly.
If you need to regain a bit more control you can tape a sheet of paper onto the tablet surface. It restores a nice ‘tooth’ feel to the drawing and offers some welcome resistance.
Experiment with various textures, tracing paper, cartridge etc.
Be warned though, prolonged use will wear out the plastic tip more quickly.
10. Tracing photographs
Likewise, when using a tablet and stylus, instead of scanning in a photograph that you might want to use just as quick reference, trace over it directly on the tablet, the paper gives that aforesaid resistance and control and the results might look more natural.
That’s it.